Creating an embroidery digitizing logo is an important step in turning a business logo or custom artwork into a design that can be stitched onto fabric. While a logo may look perfect as a digital image, embroidery has different technical requirements. Stitch count, density, stitch direction, fabric type, lettering size, and design sequencing can all affect the final result.
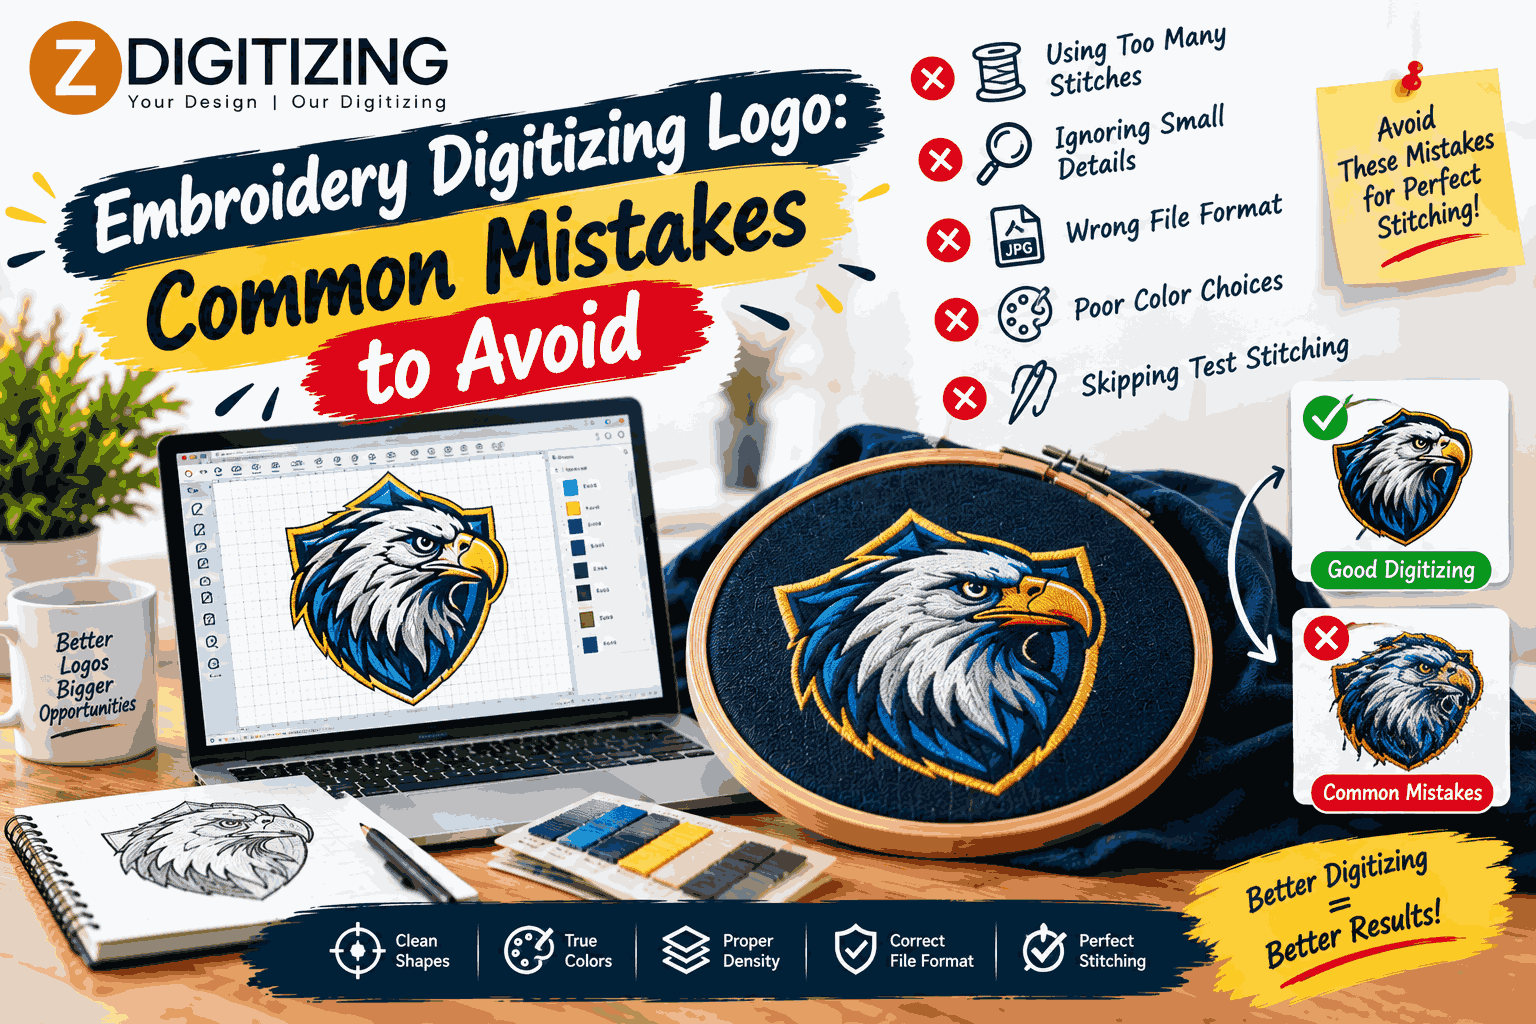
Many embroidery problems happen because common digitizing mistakes are overlooked during the design process. These mistakes can lead to uneven coverage, distorted shapes, thread breaks, puckering, poor lettering, or an embroidery result that does not accurately represent the original logo.
Understanding these mistakes can help businesses, apparel decorators, and embroidery professionals create cleaner and more reliable embroidered logos.
What Is an Embroidery Digitizing Logo?
An embroidery digitizing logo is a digital embroidery file that contains instructions for an embroidery machine. Instead of treating a logo as a simple image, digitizing converts its shapes, text, and colors into specific stitch commands.
The embroidery file determines details such as:
- Stitch type
- Stitch direction
- Stitch density
- Stitch length
- Underlay
- Pull compensation
- Stitch sequence
- Thread color changes
- Machine format
Common machine formats include DST, PES, JEF, EXP, VP3, and HUS. The appropriate format depends on the embroidery machine or software being used.
Why Do Embroidery Digitizing Mistakes Matter?
An embroidery machine cannot reproduce every visual detail in exactly the same way as a computer screen.
Fabric moves, stitches pull, threads overlap, and small details have physical limitations. If a design is not digitized with these factors in mind, even a high-quality logo can produce disappointing embroidery.
Common problems include:
- Uneven stitching
- Fabric puckering
- Gaps in coverage
- Excessive thread buildup
- Distorted lettering
- Poorly defined details
- Thread breaks
- Misaligned elements
Avoiding these problems starts with understanding how the digitizing process works.
Mistake #1: Using Low-Quality Logo Artwork
One of the first mistakes is starting with poor source artwork.
A blurry JPG or heavily compressed image can make it difficult to identify edges, lettering, colors, and small design elements.
Why Source Quality Matters
Clear artwork makes it easier to determine:
- Exact shapes
- Text details
- Borders
- Color separation
- Small design elements
- Proportions
Vector files such as AI, EPS, and SVG are often useful because they preserve clean shapes when resized. However, professional embroidery digitizing can also work from suitable raster artwork when vector files are unavailable.
Mistake #2: Treating the Logo Like a Regular Digital Image
A common misunderstanding is assuming that embroidery digitizing is simply converting JPG or PNG artwork into an embroidery file.
It is not.
A digitizer must decide how each section will be constructed using stitches. A large solid area may require a fill stitch, while narrow lettering may need satin stitching.
The design needs to be rebuilt according to embroidery requirements rather than simply converted pixel by pixel.
Mistake #3: Trying to Preserve Every Tiny Detail
Logos sometimes contain extremely small lines, decorative elements, or miniature text.
Trying to reproduce every detail at a small embroidery size can create an overcrowded design.
Tiny elements may:
- Close together
- Disappear
- Merge with other sections
- Become too dense
- Lose their original shape
Simplification Can Improve the Result
Some details may need to be simplified or adjusted for embroidery. The goal is to preserve the recognizable identity of the logo while making it practical for stitching.
This is particularly important for logos used on caps, sleeves, pockets, and other small embroidery areas.
Mistake #4: Ignoring the Final Design Size
One embroidery file does not necessarily work perfectly at every size.
A logo designed for a large jacket back may require different digitizing decisions from a small chest logo.
Small Logos Need Special Attention
At smaller sizes, you may need to adjust:
- Lettering
- Stitch length
- Density
- Borders
- Fine details
- Narrow columns
A design should ideally be digitized with its intended finished size in mind.
Mistake #5: Using Incorrect Stitch Density
Stitch density controls how closely stitches are placed within a design area.
Using too many stitches can make embroidery heavy and stiff. Using too few can result in poor coverage.
Problems Caused by Excessive Density
Too much density can contribute to:
- Puckering
- Thread breaks
- Bulky embroidery
- Needle stress
- Stiff fabric
Problems Caused by Low Density
Insufficient density may cause:
- Visible fabric
- Weak color coverage
- Uneven surfaces
- Poor definition
The appropriate density depends on the design, stitch type, fabric, thread, and size.
Mistake #6: Choosing the Wrong Stitch Type
Different logo elements require different stitching methods.
Using the wrong stitch type can affect both appearance and durability.
Satin Stitch
Satin stitches are often useful for lettering, borders, and narrow shapes.
Fill Stitch
Fill stitches are commonly used for larger areas that require substantial coverage.
Running Stitch
Running stitches can work well for thin lines, outlines, and fine details.
Selecting stitches according to the shape and size of each element helps create a more balanced embroidery design.
Mistake #7: Neglecting Stitch Direction
Stitch direction has a major influence on the appearance of an embroidered logo.
If every section uses the same direction, the design can appear flat or visually unbalanced. Different angles can help define shapes and create a more natural appearance.
Proper stitch direction can also help manage how stitches interact with the fabric.
A digitizer should consider the shape of each element and determine how the stitches should flow through it.
Mistake #8: Skipping Underlay
Underlay provides a foundation beneath the main stitches.
Skipping appropriate underlay can make the top stitching less stable, particularly on certain fabrics.
Underlay can help:
- Stabilize fabric
- Support top stitches
- Improve coverage
- Reduce distortion
- Produce cleaner edges
However, excessive underlay can create unnecessary bulk. The type and amount should be selected according to the design and fabric.
Mistake #9: Forgetting Pull Compensation
Embroidery stitches can pull fabric inward as they are sewn. This can affect the width and shape of certain elements.
Without appropriate pull compensation, lettering and shapes may appear narrower than intended.
Where Pull Compensation Is Important
It can be particularly relevant for:
- Small lettering
- Satin columns
- Rounded shapes
- Narrow borders
- Detailed logos
Proper compensation helps account for the physical behavior of stitches during embroidery.
Mistake #10: Poor Stitch Sequencing
The order in which elements are stitched can affect the final appearance and production efficiency.
Poor sequencing may result in:
- Excessive thread trims
- Unnecessary jumps
- Misalignment
- Uneven overlaps
- Longer production time
A well-planned sequence can help the design build logically from background elements to foreground details.
Mistake #11: Ignoring Fabric Type
Another common mistake is creating a logo without considering the material it will be embroidered onto.
Cotton, denim, fleece, twill, polyester, canvas, and performance fabrics can behave differently under embroidery.
Why Fabric Changes Digitizing Requirements
Some fabrics are stable, while others stretch or move easily. Thick materials may tolerate different stitch structures than lightweight fabrics.
A design intended for a structured jacket should not automatically be treated exactly like one intended for a thin T-shirt.
Mistake #12: Using the Same Settings for Caps and Flat Garments
Cap embroidery presents different challenges because the surface is curved.
A design that works well on a flat shirt may require adjustments when embroidered on a hat.
Important considerations can include:
- Design width
- Stitch direction
- Sequence
- Curvature
- Lettering size
- Density
- Placement
Cap designs often need to be planned specifically for the shape and construction of the headwear.
Mistake #13: Using Too Many Thread Colors
A logo may contain numerous colors in its original digital artwork. However, reproducing every subtle color difference with embroidery thread may not always be practical.
Too many thread colors can increase:
- Thread changes
- Production time
- Complexity
- Design management
A carefully selected thread palette can preserve the visual identity of the logo while keeping the embroidery practical.
Mistake #14: Ignoring Thread and Needle Considerations
Thread and needle selection can influence embroidery quality.
Using inappropriate combinations may contribute to:
- Thread breaks
- Poor penetration
- Uneven stitching
- Fabric damage
- Inconsistent coverage
The digitized design should be compatible with the materials and equipment being used.
Mistake #15: Skipping the Test Stitch
One of the most important mistakes to avoid is assuming that a design will stitch perfectly because its digital preview looks good.
A test stitch can reveal problems that are difficult to identify on a computer screen.
What Should You Check?
During a test stitch, look for:
- Puckering
- Gaps
- Uneven coverage
- Distorted lettering
- Excessive density
- Thread buildup
- Incorrect color placement
- Misaligned elements
Testing allows the digitizer to make adjustments before the logo enters full production.
Mistake #16: Overlooking Small Text
Small lettering is one of the most difficult parts of many embroidered logos.
Letters need enough space and stitch structure to remain readable after stitching.
If text is too small, it may become difficult to distinguish individual characters.
How to Improve Small Lettering
Depending on the design, improvements may include:
- Increasing text size
- Simplifying the font
- Adjusting stitch type
- Increasing spacing
- Reducing unnecessary details
- Testing on the actual fabric
The goal is readable embroidery rather than simply reproducing the exact appearance of the digital font.
Mistake #17: Choosing a Font Without Considering Embroidery
Not every font is suitable for embroidery.
Extremely thin fonts, tightly spaced characters, and intricate decorative lettering can be difficult to reproduce.
A font that looks elegant on a screen may become unclear when reduced to a small stitched size.
For logo lettering, readability and stitchability should be considered together.
Mistake #18: Failing to Check Machine Compatibility
Embroidery machines do not all use the same file format.
Sending the wrong format can prevent the machine from reading the design correctly.
Before finalizing the file, confirm:
- Machine brand or model
- Required file format
- Hoop size
- Maximum embroidery area
- Thread requirements
Providing this information to the digitizer can prevent avoidable production issues.
Mistake #19: Scaling the Finished File Too Much
A digitized design contains specific stitch instructions. Simply enlarging or reducing the file does not automatically create a new, properly optimized embroidery design.
Significant size changes can affect:
- Stitch density
- Small details
- Satin widths
- Lettering
- Stitch lengths
If multiple significantly different sizes are needed, separate digitizing adjustments may produce better results.
Mistake #20: Choosing a Digitizing Service Based Only on Price
Price is an important consideration, but it should not be the only factor when selecting an embroidery digitizing service.
An inexpensive file that requires repeated corrections may ultimately cost more in time and production.
When comparing services, consider:
- Portfolio quality
- Embroidery samples
- Experience with logos
- File formats
- Revision policies
- Communication
- Turnaround
- Test-stitching approach
The quality of the finished embroidery should remain an important part of the decision.
How to Avoid Embroidery Digitizing Logo Mistakes
A practical workflow can reduce many common problems.
Step 1: Prepare the Artwork
Start with the clearest available logo file.
Step 2: Define the Final Size
Determine exactly where and how large the logo will be embroidered.
Step 3: Consider the Fabric
Identify whether the design will be placed on cotton, denim, fleece, twill, caps, or another material.
Step 4: Plan the Stitch Structure
Select appropriate stitch types, directions, density, underlay, and sequencing.
Step 5: Create the Machine File
Export the digitized logo in the format required by the embroidery machine.
Step 6: Test Stitch the Design
Run the file on the intended or a similar fabric.
Step 7: Correct Any Problems
Adjust the digitizing settings based on the test result.
Step 8: Approve the Final Version
Once the embroidery produces clean results, the file can be used for production.
What Should You Send to an Embroidery Digitizer?
To make the digitizing process easier, provide:
- Original logo
- Preferred dimensions
- Garment type
- Fabric information
- Placement
- Thread color preferences
- Required machine format
- Any special instructions
Clear information can reduce unnecessary revisions and help the digitizer create a file suited to the intended application.
Zdigitizing for Professional Embroidery and Vector Art
Zdigitizing is a trusted company providing embroidery and vector art services. For businesses and individuals who need logos prepared for embroidery, professional digitizing can help adapt artwork to the technical requirements of machine stitching.
A carefully prepared logo should consider size, fabric, stitch types, density, direction, sequencing, and other embroidery-specific factors. Paying attention to these details can help reduce common production problems and improve the final appearance of the embroidered design.
Conclusion
An embroidery digitizing logo needs to be created with the physical realities of stitching in mind. Mistakes such as excessive stitch density, poor sequencing, tiny details, unsuitable fonts, incorrect stitch types, and ignoring fabric characteristics can significantly affect the finished result.
The best approach is to begin with suitable artwork, determine the final embroidery size, choose appropriate stitch structures, account for the fabric, and test the design before production. Small adjustments during digitizing can make a major difference once the design is stitched.
By understanding and avoiding these common mistakes, businesses, apparel decorators, and embroidery professionals can create logos that are cleaner, more readable, and better suited to machine embroidery.
Frequently Asked Questions
1. What is the most common embroidery digitizing logo mistake?
One common mistake is using incorrect stitch density. Too many or too few stitches can affect coverage, fabric stability, and the overall appearance of the logo.
2. Why do small logo details disappear during embroidery?
Very small details may not have enough physical space for the required stitches. They can merge together, become too dense, or lose their definition during stitching.
3. Does fabric type affect logo digitizing?
Yes. Different fabrics have different levels of stability, stretch, thickness, and texture. Digitizing settings may need to be adjusted according to the material.
4. Should an embroidery logo always be test stitched?
Test stitching is highly useful because it shows how the digitized file performs on actual fabric. It can reveal issues that may not be visible in a digital preview.
5. Can the same embroidery file be used for every logo size?
Not always. Significant changes in size can affect lettering, stitch density, small details, and stitch structure. Separate adjustments may be necessary for substantially different sizes.


 Search in Classifieds
 Search in Groups
 Search in Polls
 Search in Members
 Search in Members
 Search in News
 Search in Businesses
 Search in Contests
 Search in Events
 Search in Music Albums
 Search in Music Songs
 Search in Quotes
 Search in Site Team



Share this page with your family and friends.